How to Replace a Garage Door Opener?
What Tools and Parts Do I Need to Replace a Garage Door Opener?
Before starting the replacement process, it’s crucial to gather all the necessary tools and parts to ensure an efficient and safe installation. Key items include:
- Screwdriver and drill: For removing screws and mounting new hardware securely.
- Ladder: To safely reach ceiling-mounted opener components.
- Screws and mounting brackets: Specific to the new opener model for stable installation.
- Wiring supplies: Electrical tape, connectors, and insulation strips for proper electrical work.
- Voltage tester: To verify the power supply is off before handling wiring.
- Cable ties: Useful for organising wires neatly along the rail and ceiling.
- Replacement opener components: Such as the electric motor, rail assembly, trolley, drive belt or chain drive, and header bracket.
It is also valuable to have the user manual for both your old and new garage door openers handy to follow manufacturer-specific instructions accurately.
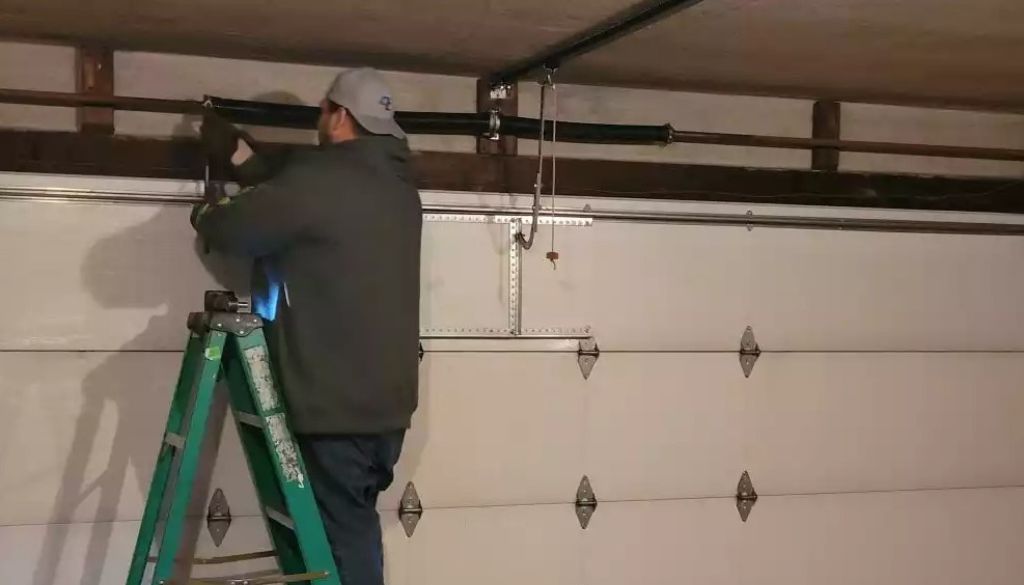
How Do I Remove the Old Garage Door Opener Safely?
Removing an existing garage door opener requires caution, especially around electrical and mechanical aspects. Here are the critical steps to do this safely:
- Disconnect the power supply: Turn off electricity at the main fuse box or circuit breaker to prevent shocks during removal.
- Engage the manual release: Pull the emergency release cord on the trolley to disengage the opener from the carriage mechanism, allowing manual door operation.
- Detach mounting hardware: Using a ladder, unscrew and remove the opener motor and rail assembly from the ceiling brackets and header bracket carefully.
- Remove the trolley and rail: Detach the entire carriage and rail system from the door tracks without disturbing the spring tension or roller wheels, as these hold significant force.
- Disconnect wiring: Carefully unplug all electrical connections including sensors, wall switch wires, and remote control receivers without damaging cables.
It’s essential to avoid tampering with the garage door springs or roller wheels during this process to reduce risk of injury.
How Do I Install a New Garage Door Opener Motor and Rail System?
Installing the new garage door opener involves assembling and mounting several mechanical components precisely. Follow these key steps:
- Secure the mounting bracket: Fix the header bracket firmly above the garage door on the wall or ceiling support.
- Assemble the rail and trolley: Depending on your model, assemble the rail system and trolley either with a chain drive or a quieter drive belt.
- Attach the rail to the motor unit: Connect the rail assembly securely onto the electric motor housing.
- Mount the motor unit: Use ceiling brackets to secure the motor unit, ensuring it’s level and stable to avoid vibrations or movement during operation.
- Connect the arm bracket: Attach the arm bracket that links the trolley to the garage door panel, facilitating smooth door movement along the door track.
Ensure all pulleys, carriage, and roller wheels operate smoothly as part of the pulley system before moving forward.
Our Sponsor
A1 Garage Doors Gold Coast
A1 Garage Doors Gold Coast is a Bundall-based garage door specialist serving the southern Gold Coast and surrounding suburbs with installation, repair, maintenance, and emergency garage door services. The company specializes in sectional doors, roller doors, garage door openers, spring and cable replacement, opener motor repair, smart-enabled installations, and 24/7 emergency call-outs across Robina, Burleigh Heads, Surfers Paradise, Nerang, Coomera, and the wider Gold Coast region.
Address:
1 Waterford Court,
Bundall,
QLD
4217,
Australia
Phone: (07) 5515 0277
Business Hours:
- Open 24/7 — Including After-Hours and Emergency Call-Outs
Follow Us:
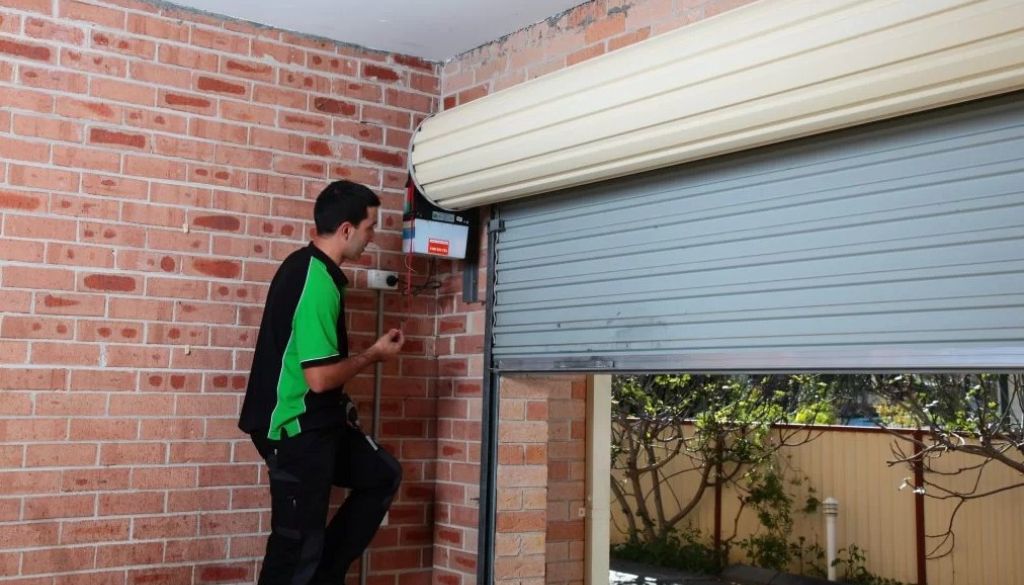
How Should I Connect the Electrical Components, Sensors, and Controls?
Electrical connections are vital for safety and functionality of your garage door opener system. Proper wiring and sensor installation include:
- Run wiring: Connect wires from the motor unit to the wall switch and install photo eye sensors low on either side of the door for the safety reverse feature.
- Align sensors: The photo eyes must face each other directly for accurate detection of obstacles beneath the door.
- Connect the circuit board: Inside the motor housing, wire the circuit board to the power supply and the control modules such as wireless receivers or keypad units.
- Test wireless receiver: Verify the remote control syncing works flawlessly and replace batteries if necessary.
- Install transformer and check fuses: Plug in the transformer supplying power and ensure fuses are intact to protect against electrical surges.
- Organise wiring: Use cable ties and insulation strips to keep cables tidy, secure, and protected from wear and tear.
Following wiring diagrams and manufacturer instructions ensures all controls respond correctly and safely.
How Can I Adjust Travel Limits, Torque, and Safety Features?
Post-installation, fine-tuning your garage door opener settings maximises performance and safety:
- Set travel limits: Use the limit switches to define how far the door opens and closes, protecting the door from over-travel damage.
- Adjust torque: Match the torque setting to your door’s weight and spring tension to avoid excessive strain or incomplete closing.
- Test safety reverse: Place an object under the closing door to confirm the safety reverse engages and the door reverses automatically when obstructed.
- Check emergency release: Ensure the manual release handle works smoothly for quick manual operation when needed.
- Verify automatic locks: If your unit includes an automatic lock mechanism, test its engagement for enhanced security.
These adjustments not only extend the lifespan of your garage door opener but also comply with essential safety standards.
What Are Some Common Issues to Watch Out for When Replacing a Garage Door Opener?
During and after replacement, be aware of common problems that might affect performance or safety:
- Wiring mistakes: Faulty or loose wiring can lead to motor failures or unresponsive remotes and wall switches.
- Sensor misalignment: Improperly aligned photo eyes prevent the door from closing for safety reasons.
- Fuse or breaker issues: Blown fuses or tripped circuit breakers may indicate electrical faults in the new installation.
- Remote syncing difficulties: Problems pairing remotes or keypad units can disrupt normal access.
- Gear assembly wear: Using old or worn gear assemblies can cause premature breakdowns.
- Neglected spring tension: Incorrect spring tension affects door balance and torque requirements.
- Lack of lubrication: Failing to lubricate roller wheels and pulleys results in noisy and jerky door movements.
Paying close attention to these aspects during installation and testing helps prevent costly repairs later.
What Are the Benefits of Upgrading to a Modern Garage Door Opener?
Modern garage door openers offer several enhancements that improve your daily experience and home security:
- Smart controls: Integration with Wi-Fi allows operation from smartphones or voice assistants.
- Battery backup: Ensures functional operation during power outages.
- Energy efficiency: LED light bulbs provide bright, long-lasting illumination while consuming less power.
- Enhanced safety features: Updated sensors and safety reverse systems meet current industry standards.
- Built-in automatic locks: Add an extra layer of security beyond the standard latch system.
- Quiet operation: Drive belt systems reduce noise significantly compared to traditional chain drives.
Upgrading your opener is a worthwhile investment in comfort, safety, and efficiency.
How to Maintain Your New Garage Door Opener for Longevity?
Proper maintenance extends the life of your garage door opener and maintains optimal performance.
- Lubricate moving parts: Regular lubrication of roller wheels, pulley systems, and the chain or drive belt prevents wear and noise.
- Inspect hardware: Periodically check screws, mounting brackets, and the header bracket for tightness and corrosion.
- Clean sensors: Wipe photo eyes gently to remove dust and debris for reliable safety detection.
- Replace weather seals: Keep door insulation strips intact to prevent drafts and reduce energy costs.
- Check wiring: Inspect for fraying or loose connections and secure with cable ties when needed.
Consistent care reduces the chances of sudden breakdowns and costly repairs.
Frequently Asked Questions
What is the average cost to replace a garage door opener?
The cost varies depending on the model and installation complexity but generally ranges between AUD 300 and AUD 800, which typically includes both parts and labour.
goldcoastgaragedoorrepair.com.auCan I replace a garage door opener myself, or should I hire a professional?
Homeowners with good electrical and mechanical aptitude can undertake DIY replacement. However, hiring a qualified professional ensures safety compliance, correct installation, and may preserve warranty validity.
How long does it take to replace a garage door opener?
The replacement process usually takes between 2 to 4 hours, depending on your experience level and any unforeseen complications encountered during installation.
What type of drive system is better: chain drive or drive belt?
Chain drives are durable and cost-effective but tend to be noisier. Drive belts operate quietly and smoothly but often come at a higher price point.
How do I know if my garage door opener needs replacement rather than repair?
Signs warranting replacement include frequent malfunctions, outdated technology lacking modern safety features, excessive noise, or when repair costs approach the price of a new opener. Upgrading often provides improved reliability and convenience.
Replacing your garage door opener does not have to be a daunting task. With the right tools, careful adherence to safety procedures, and proper adjustments, you can successfully install a unit that enhances your home’s security and convenience. If you have any doubts about electrical components or mechanical settings, consult a certified technician to ensure the job is done safely and professionally.